AI Backend
Learn how to set up a custom backend for the AI Chat plugin.
Custom AI backend requires a Business plan. You can set up a custom backend on localhost for development, but on deployed apps requests are routed to the Platform API unless your Studio SDK license is on a Business plan.
Quick start
You can use any model provided by the collection of AI SDK providers.
For a quick start we'll use the OpenAI one.
- npm
- pnpm
- yarn
npm i @ai-sdk/openai
pnpm add @ai-sdk/openai
yarn add @ai-sdk/openai
Use the code example below to create a streaming endpoint for the chat plugin.
// Example route in Next.js
import { createOpenAI, OpenAIResponsesProviderOptions } from '@ai-sdk/openai';
import type { ChatRequestBody } from '@grapesjs/studio-sdk-plugins/dist/aiChat';
import { createStreamResponse } from '@grapesjs/studio-sdk-plugins/dist/aiChat/server';

export async function POST(req: Request) {
  // The chat will always post last messages (10 by default) and project context to the backend
  const { messages, projectContext }: ChatRequestBody = await req.json();
  const openaiProvider = createOpenAI({ apiKey: process.env.OPENAI_API_KEY });

  return createStreamResponse({
    messages,
    projectContext,
    abortSignal: req.signal,
    // Model and options for the Chat (Orchestrator)
    model: openaiProvider('gpt-5-mini'),
    providerOptions: {
      openai: {
        store: false,
        reasoningEffort: 'low',
        reasoningSummary: 'auto',
        include: ['reasoning.encrypted_content']
      } as OpenAIResponsesProviderOptions
    },
    // Model for code generaton agent (executed when user requests to add/edit code)
    agentCode: { model: openaiProvider('gpt-5.1') }
  });
}
Follow the instructions from the AI Chat to set up the plugin on the frontend and provide your custom endpoint.
export function App() {
  return (
    <StudioEditor
      options={{
        // ...
        plugins: [
          aiChat.init({
            chatApi: '/my-api/ai/chat',
            // You can also customize the default transport options (e.g. add credentials or custom headers)
            defaultTransportOptions: {
              credentials: 'include',
              headers: () => ({ 'X-Custom-Header': 'custom-value' })
            },
          })
        ]
      }}
    />
  );
}
Prompt customization
The endpoint provides already a system prompt with instructions based on the passed projectContext, but you can customize it with your own domain specific information or instructions. You can provide a full custom system prompt or just a preamble and/or postamble to be added to the default one.
export async function POST(req: Request) {
  // ...

  return createStreamResponse({
    // ...
    systemPrompt: {
      // Customize the initial part of the system prompt with your domain-specific information (e.g. product name)
      preamble: 'You are an AI assistant embedded in HyperCRM platform for building web projects.',
      postamble: '' // ending instructions if needed
    }
  });
}
You can also provide a full custom system prompt string.
return createStreamResponse({
  // ...
  systemPrompt: 'You are an AI assistant....'
});
Tools
Tools allow you to extend the AI capabilities with custom functions executed in the backend (server-side tools) or in the frontend (client-side tools).
// ...
import { createStreamResponse, createTool } from '@grapesjs/studio-sdk-plugins/dist/aiChat/server';
import { z } from 'zod';

export async function POST(req: Request) {
  // ...
  return createStreamResponse({
    // ...
    tools: ({ defaultTools }) => {
      return {
        ...defaultTools,
        getWeather: createTool({
          description: 'Show the weather in a given city to the user.',
          inputSchema: z.object({
            city: z.string().describe('The city to get the weather information for')
          }),
          // Inside the execute function you can perform any operations, call external APIs, etc.
          execute: async input => {
            const { city } = input;
            const weatherOptions = ['sunny', 'cloudy', 'rainy', 'snowy', 'windy'];
            return { weather: weatherOptions[Math.floor(Math.random() * weatherOptions.length)] };
          }
        })
      };
    }
  });
}
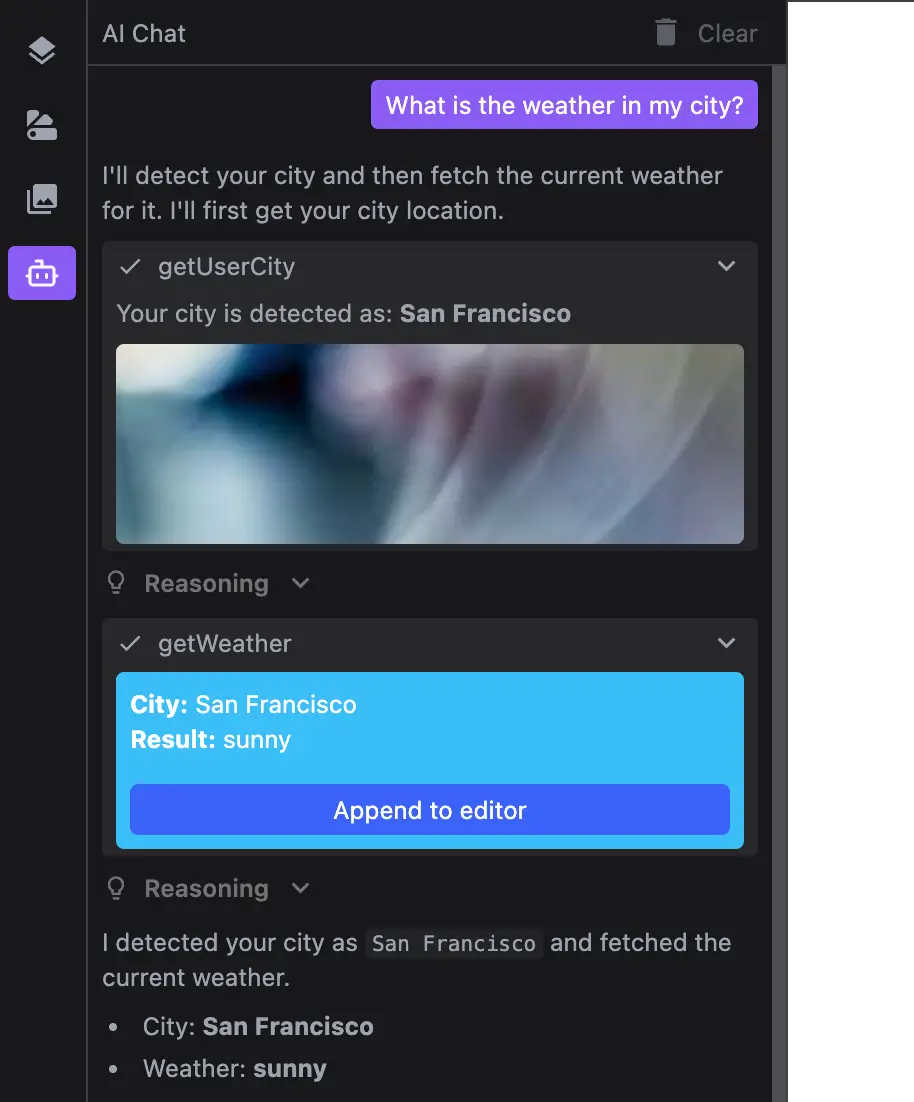
Now you can trigger the tool from the chat by asking something like: What is the weather in San Francisco?
Tool status
When the tool is executing you can also send status updates to the chat with createToolStatusWriter to keep the user informed about the progress.
export async function POST(req: Request) {
  // ...
  return createStreamResponse({
    // ...
    tools: ({ defaultTools, createToolStatusWriter }) => {
      return {
        ...defaultTools,
        getWeather: createTool({
          description: 'Show the weather in a given city to the user.',
          inputSchema: z.object({ city: z.string().describe('The city to get the weather information for') }),
          execute: async (input, { toolCallId }) => {
            const { city } = input;
            const weatherOptions = ['sunny', 'cloudy', 'rainy', 'snowy', 'windy'];

            // Create a status writer for this tool call
            const toolStatus = createToolStatusWriter({ toolCallId, input, name: 'getWeather' });
            toolStatus.update(`Fetching weather information for ${city}`);

            for (let i = 0; i < 5; i++) {
              await new Promise(resolve => setTimeout(resolve, 1000));
              toolStatus.update('.'); // append chunks of text
            }

            await new Promise(resolve => setTimeout(resolve, 1000));
            toolStatus.update('Almost there!', { replace: true });
            await new Promise(resolve => setTimeout(resolve, 2000));
            toolStatus.done(); // clear status

            return { weather: weatherOptions[Math.floor(Math.random() * weatherOptions.length)] };
          }
        })
      };
    }
  });
}
Client-side tools
Client-side tools are executed in the frontend, for example to manipulate the editor or access client data. In this case you'll need to provide only the definition on the backend, and the execution implementation on the client.
export async function POST(req: Request) {
  // ...
  return createStreamResponse({
    // ...
    tools: ({ defaultTools }) => {
      return {
        ...defaultTools,
        getWeather: createTool({
          // ...
        }),
        // IMPORTANT: skip the `execute` function
        getUserCity: createTool({
          description: 'Get the user city location.',
          inputSchema: z.object({})
        })
      };
    }
  });
}
Client-side tool implementation:
export function App() {
  return (
    <StudioEditor
      options={{
        // ...
        plugins: [
          aiChat.init({
            // ...
            tools: ({ defaultTools }) => ({
              ...defaultTools,
              // IMPORTANT: the name here should match the one on backend
              getUserCity: {
                async execute() {
                  const cities = ['New York', 'Los Angeles', 'Chicago', 'San Francisco'];
                  const city = cities[Math.floor(Math.random() * cities.length)];
                  return { city };
                }
              }
            })
          })
        ]
      }}
    />
  );
}
Now you should be able to trigger the tools by asking something like: What is the weather in my city?
Image generation
Use createToolGenerateImage to add a generateImage tool that generates images with your image model and returns uploaded URLs.
Backend integration
import { createOpenAI } from '@ai-sdk/openai';
import { createStreamResponse, createToolGenerateImage } from '@grapesjs/studio-sdk-plugins/dist/aiChat/server';

const openai = createOpenAI({ apiKey: process.env.OPENAI_API_KEY });

export async function POST(req: Request) {
  // ...
  return createStreamResponse({
    // ...
    tools: ({ defaultTools, abortSignal }) => ({
      ...defaultTools,
      generateImage: createToolGenerateImage({
        model: openai.imageModel('gpt-image-1.5'),
        abortSignal,
        // Allowed output options (depends on your model/provider)
        sizes: ['1024x1024', '1024x1536', '1536x1024'],
        ratios: ['1:1', '2:3', '3:2'],
        uploadImages: async ({ files }) => {
          // Upload generated files wherever you want (eg. S3/R2/Cloud Storage)
          const uploaded = await uploadGeneratedFiles(files);
          // return an array of URLs for the uploaded images
          return uploaded.map(item => item.url);
        },
        onEnd: async ({ usage, uploadedUrls }) => {
          console.log('Track usage and uploaded URLs', { usage, uploadedUrls });
        }
      })
    })
  });
}
Frontend customization
The default generateImage client tool is already included in defaultTools and renders a built-in result UI.
You can override it and provide your own layoutToolResult.
aiChat.init({
  // ...
  tools: ({ defaultTools }) => ({
    ...defaultTools,
    generateImage: {
      layoutToolResult: ({ part, isProcessing }) => ({
        type: 'custom',
        component: () => {
          const output = (part.output || {}) as { urls?: string[] };
          const urls = output.urls || [];

          if (isProcessing) return <div>Generating images...</div>;
          if (!urls.length) return <div>No images generated.</div>;

          return (
            <div>
              {urls.map(url => (
                <img key={url} src={url} alt="Generated result" />
              ))}
            </div>
          );
        }
      })
    }
  })
});
Command tool helper
Use createCommandTool to expose a tool with command IDs you execute on the client side.
This is especially useful for editor manipulation commands.
export async function POST(req: Request) {
  // ...
  return createStreamResponse({
    // ...
    tools: ({ defaultTools, createCommandTool }) => ({
      ...defaultTools,
      runCommand: createCommandTool({
        commands: {
          // Specify your command ID and description, then execute it on the client side
          openPreview: { description: 'Open preview mode.' }
        }
      })
    })
  });
}
Client-side execution for runCommand use a similar helper:
aiChat.init({
  tools: ({ defaultTools, createCommandTool, editor }) => ({
    ...defaultTools,
    // Same name for the tool
    runCommand: createCommandTool({
      commands: {
        // Use the same command ID and execute the command on the editor instance
        openPreview: {
          label: ({ isExecuted }) => (isExecuted ? 'Preview open' : 'Opening preview...'),
          execute: () => editor.runCommand('core:preview')
        }
      }
    })
  })
});
Generative UI
To create a more engaging and AI-native experience for users you can provide your custom UI for tools.
export function App() {
  return (
    <StudioEditor
      options={{
        // ...
        plugins: [
          aiChat.init({
            // ...
            tools: ({ defaultTools, editor }) => ({
              // <-- Get the editor instance
              ...defaultTools,
              getUserCity: {
                async execute() {
                  // ...
                },
                // Define a custom layout component for this tool
                layoutToolResult: ({ part }) => ({
                  type: 'custom',
                  component: () => {
                    const output = part.output as { city: string } | undefined;
                    if (!output) return <div>Checking your city...</div>;
                    const city = output.city;

                    return (
                      <div>
                        <div>
                          Your city is detected as: <b>{city}</b>
                        </div>
                        <img
                          src={`https://picsum.photos/seed/${city}/200/300`}
                          style={{
                            width: '100%',
                            maxHeight: '100px',
                            borderRadius: '4px',
                            marginTop: '0.5rem',
                            objectFit: 'cover'
                          }}
                        />
                      </div>
                    );
                  }
                })
              },
              // Provide only the layoutToolResult
              getWeather: {
                layoutToolResult: ({ part }) => ({
                  type: 'custom',
                  component: () => {
                    const input = part.input as { city: string } | undefined;
                    const output = part.output as { weather: string } | undefined;

                    if (!input) return <div>Waiting weather information...</div>;
                    if (!output) return <div>Checking the weather for {input.city}...</div>;

                    const onClick = () => {
                      const content = `<div>The weather in ${input.city} is currently ${output.weather}.</div>`;
                      const cmp = editor.getWrapper()?.append(content)[0];
                      editor.select(cmp);
                    };

                    return (
                      <div style={{ background: '#38bdf8', color: 'white', borderRadius: '4px', padding: '0.5rem' }}>
                        <div>
                          <b>City:</b> {input.city}
                        </div>
                        <div>
                          <b>Result:</b> {output.weather}
                        </div>
                        <button
                          onClick={onClick}
                          style={{
                            background: '#3962f8',
                            padding: '0.3rem',
                            width: '100%',
                            borderRadius: '4px',
                            marginTop: '1rem'
                          }}
                        >
                          Append to editor
                        </button>
                      </div>
                    );
                  }
                })
              }
            })
          })
        ]
      }}
    />
  );
}
Provider tools
Based on the selected model provider, you can also use provider-specific tools. As we are using the OpenAI model (which defaults to Response API), we can use one of its available tools.
import { openai } from '@ai-sdk/openai';
import { Tool } from 'ai';
// ..

export async function POST(req: Request) {
  // ...
  return createStreamResponse({
    // ...
    tools: ({ defaultTools }) => {
      return {
        // ...
        webSearch: openai.tools.webSearch({ searchContextSize: 'medium' }) as Tool
      };
    }
  });
}
Usage tracking
When running your own AI backend you may want to track model usage. Use the onEnd callback to capture usage data from every call (including built-in agent code tools).
export async function POST(req: Request) {
  // ...
  return createStreamResponse({
    // ...
    onEnd: ({ usage, model, toolName }) => {
      console.log(toolName ? `Tool usage ${toolName}` : 'Main chat usage', {
        model: model.modelId,
        inputTokens: usage.inputTokens,
        outputTokens: usage.outputTokens
      });
      // ...track the usage on your side
    }
  });
}
Message metadata
You can attach custom metadata to messages on the backend.
export async function POST(req: Request) {
  // ...
  return createStreamResponse({
    // ...
    getMessageMetadata: ({ part, model }) => {
      if (part.type === 'start') {
        return {
          createdAt: Date.now(),
          modelId: model.modelId
        };
      }

      if (part.type === 'finish') {
        const usage = part.totalUsage;
        return {
          finishedAt: Date.now(),
          totalTokens: usage.totalTokens
        };
      }
    }
  });
}
You can then display this metadata in the chat by customizing the aiChatMessage layout component on the client side.
{
  // ...
  plugins: [
    aiChat.init({
      // ...
      layoutComponents: {
        aiChatMessage: () => ({
          layoutAfterMessage: ({ message }) =>
            message.role === 'assistant'
              ? {
                  type: 'custom',
                  component: () => {
                    const metadata = (message.metadata as Record<string, any>) || {};
                    if (metadata.finishedAt) {
                      const { createdAt, finishedAt, modelId, totalTokens } = metadata;
                      const seconds = ((finishedAt - createdAt) / 1000).toFixed(1);
                      return (
                        <div>
                          <b>Model:</b> {modelId} <b>Time:</b> {seconds}s <b>Tokens:</b> {totalTokens}
                        </div>
                      );
                    }
                  }
                }
              : undefined
        })
      }
    })
  ];
}
Message persistence
When running your own backend you can persist chat messages on the server.
export async function POST(req: Request) {
  const { messages, projectContext }: ChatRequestBody = await req.json();
  const lastMessage = messages[messages.length - 1];

  // create or update last message in database
  await upsertMessage(lastMessage);
  // ...

  return createStreamResponse({
    // ...
    responseOptions: {
      onFinish: async ({ messages, responseMessage }) => {
        await upsertMessage(responseMessage);
      }
    }
  });
}